Raspberry Pi, an out of box education with Ruby
Update: Follow my Raspberry Pi escapades on my Raspberry Pi micro-blog, hosted on the Pi itself, no less!
Important: If you don’t want to repeat the arduous steps below to get WiringPi up and running with Ruby, you can now just “gem install wiringpi”. See my Pi blog for more information on the WiringPi Gem and how to use it.
Fresh from the box, the Raspberry Pi may not seem like much. But what makes it shine are the yet unexplored hardware and software possibilities. You only need look to the Arduino to see how comprehensive support and accessories for a well adopted platform can get, and the Pi is showing every sign of being well adopted.
With little more than an SD card, a crash course in Ruby a few jump leads, LEDs, and resistors and that all-important bread-board however, you can commence hardware hackery on a Pi right now. You need only be careful about wiring things up and picking the right pins, which isn’t difficult with the wealth of information and support already available online.
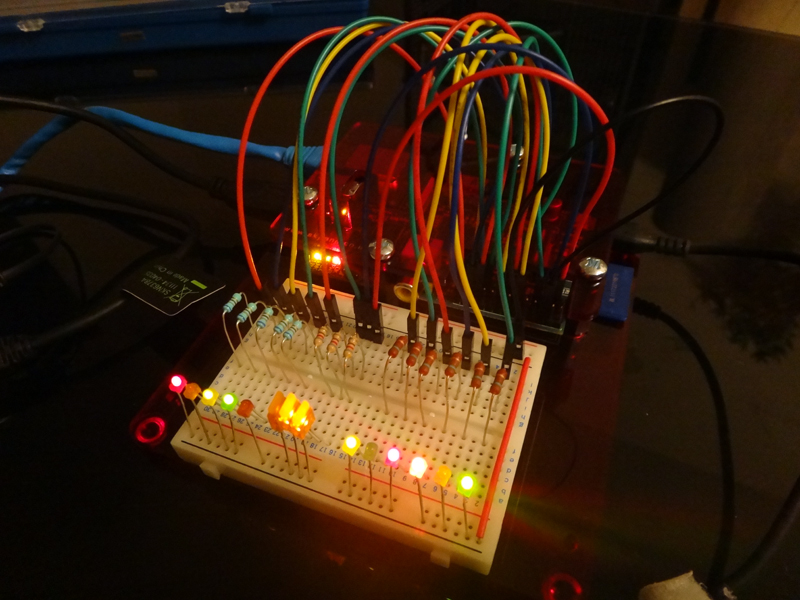
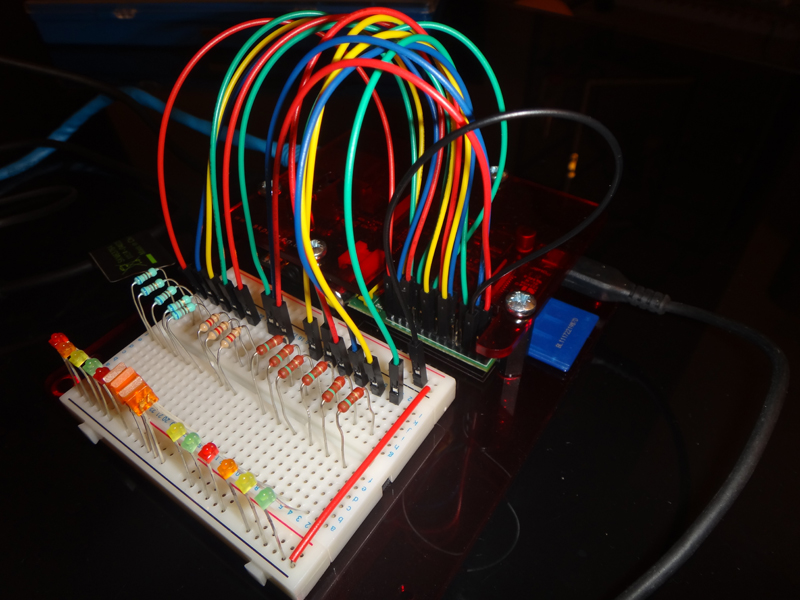
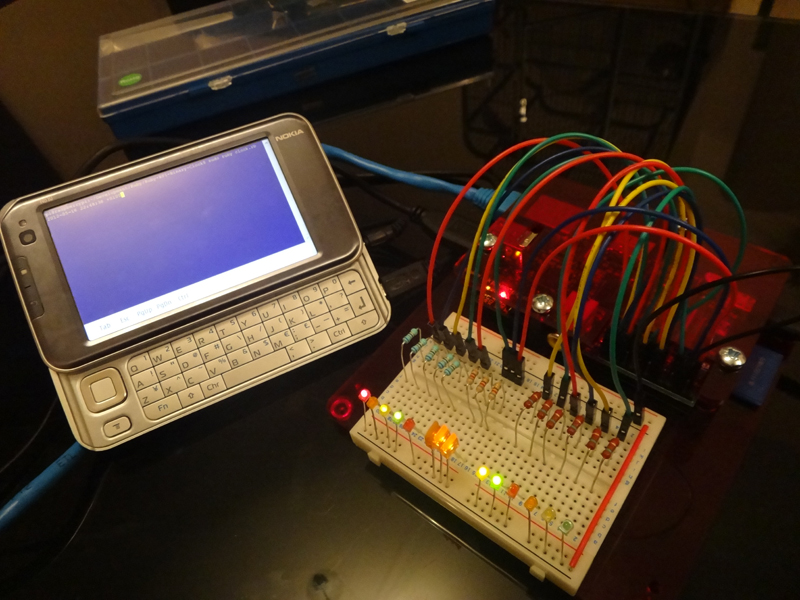
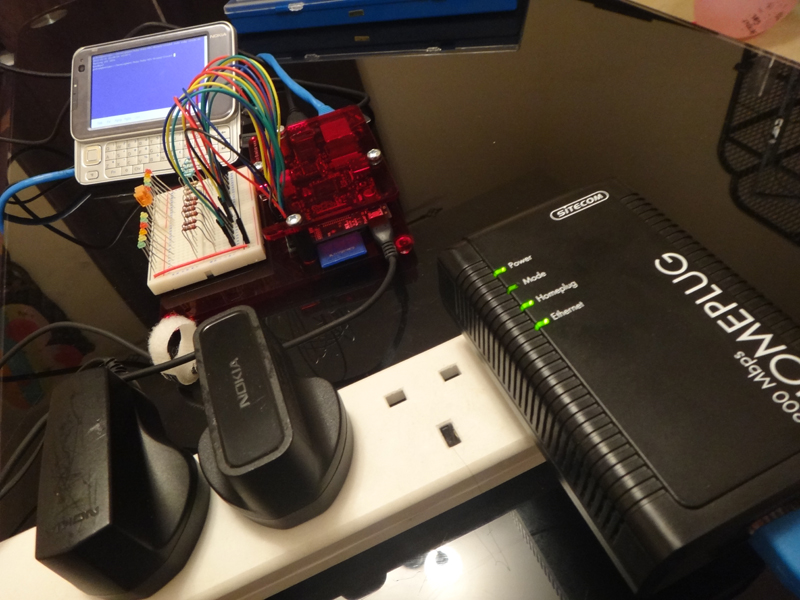
Right from the get-go I wanted to do some hardware hackery with my Pi, and with no real prior experience of electronics I’m a fairly likely candidate for a fried Pi. However, with a bit of common sense and some patience I not only managed to wire a Sega Megadrive controller up to the GPIO pins and get every button working, but also threw together a 12-LED and then 14-LED binary clock, written in Ruby for giggles.
First and foremost, let it be said that I stand on the shoulders of giants. If it weren’t for the folks out there hacking together a comprehensive Debian-Linux image for me to boot from, and for chaps like Gordon Henderson and his brilliantly user-friendly WiringPi library then I wouldn’t have got far.
First off, let me say that I’m no Ruby developer. I’ve barely touched the stuff, but admire the language for its concise and elegant structure and complete and total lack of semi colons. I chose Ruby as the development language on my Pi for a couple of reasons. First and foremost it’s easy to install, and secondly is easy to write. Python, I dare say, is not. Ruby made hacking together a
Megadrive Controller driver and binary clock easy, and didn’t get in my way.
Installing Ruby on the Pi is as simple as installing RVM and then using “rvm install” to install the desired Ruby version. I chose 1.9.3. I’ll leave the particulars of RVM and Ruby installation as an exercise for the reader, though, as they’re trivial, well documented elsewhere and I don’t wish to be patronising! For the most part you’ll want to follow this guide on installing Ruby on Rails, except you’ll want to install RVM with “curl -L get.rvm.io | bash -s stable” because you likely won’t need the bloat of the Rails web framework. Take special note of the openssl pre-requisite, and don’t forget to “source ~/.rvm/scripts/rvm” after installing.
Once Ruby is up and running, you’ll want to get WiringPi wrapped up into a nice cozy Ruby module so you can access it quickly and cleanly from within your Ruby code. Literally as simple as: Wiringpi.digitalWrite(pin,value)
To do this, I used a handy utility called SWIG, installed simply with “sudo apt-get install swig” that allowed me to wrap Gordon’s WiringPi up in a jiffy, once I provided it with the correct configuration settings that is!
Once you’ve grabbed the WiringPi source, cd into wiringPi/wiringPi/ and create a new file wiringPi.i, bung the following into it for great success:
%module wiringpi
extern int wiringPiSetup (void) ;
extern void pullUpDnControl (int pin, int pud) ;
extern void pinMode (int pin, int mode) ;
extern void digitalWrite (int pin, int value) ;
extern void pwmWrite (int pin, int value) ;
extern int digitalRead (int pin) ;
%{
#include "wiringPi.h"
%}
You’ll also need a file called extconf.rb here, containing simply:
require 'mkmf'

create_makefile('wiringpi')
Run “swig -ruby wiringPi.i” and “ruby extconf.rb” in here, then you can “make” and “make install”
You should see something along the lines of this for “make”:
compiling wiringPi_wrap.c

compiling wiringPi.c

linking shared-object wiringpi.so
And something along the lines of this for “make install”:
/usr/bin/install -c -m 0755 wiringpi.so /home/pi/.rvm/rubies/ruby-1.9.3-p194/lib/ruby/site_ruby/1.9.1/armv6l-linux-eabi

installing default wiringpi libraries
Now. Tell me that wasn’t easy? You’ll also find these files here: https://github.com/Gadgetoid/Ruby-RPi-Binary-Clock/tree/master/wiringPi
Once done, you can use WiringPi thusly:
require 'wiringpi'

Wiringpi.wiringPiSetup

Wiringpi.digitalRead(pin)

Wiringpi.digitalWrite(pin, value)

Wiringpi.pinMode(pin, mode)
Calling Wiringpi.wiringPiSetup before any of the other methods is important! If you don’t do this, your program will simply crash and burn. Furthermore, due to the way WiringPi works you’ll have to run your Ruby code as root with: “sudo ruby yourfile.rb”. This isn’t exactly a huge deal on the Pi, the inexpensive portable, hackable platform that it is, so don’t sweat!
Because Wiringpi.wiringPiSetup needed to be run first, and because I like things neat and tidy, I created myself a gpio.rb file to wrap up the functionality of WiringPi I wanted to use with sanity checks, automatic calls to wiringPiSetup and a handy additional readAll method. I’m no Ruby code artist, but you can find it on GitHub and use it if you like: https://github.com/Gadgetoid/Ruby-RPi-Binary-Clock/blob/master/gpio.rb
( Note: I’ve only included the pins I actually use, there are a handful more if you’re a completionist! )
With this setup, I can “require ‘./gpio.rb'” into my Ruby files and simply use Gpio.read() and Gpio.write() as and when I want to.
And with all the IO out of the way, I could get ’round to writing some juicy LED flashing Ruby programs… nearly.
The next step requires paying close attention to the pinout of the Pi GPIO header and how this relates to WiringPI. Close attention! Don’t just skim over the diagram, learn exactly what pin does what. The most important pin of all for your basic LED flashing fun would be Ground or GND. This is the pin that completes the circuit from your GPIO pin, with a mode set to output and a value of 1, through your resistor, then your LED and finally to GND. If you don’t hook up your Ground pin to the Ground ( black ) line on your breadboard, not a lot is going to happen.
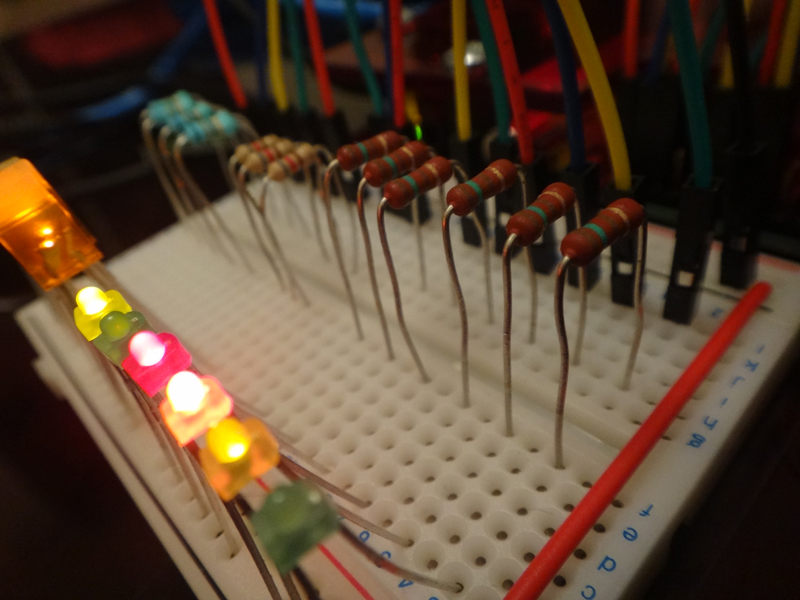
Pick your pins carefully, hooking up a jump wire from a pin, to a free row on your breadboard, leap over the center of the breadboard with a resistor in that row, and finally bridge the row to the Ground line with your LED, making sure you have the long side of the LED ( the Anode ) plugged in toward the resistor, and the short end ( the Cathode ) into Ground.
Once everything is hooked up, you’ll need to figure out which pin in WiringPi you’ve actually connected which physical LED to. I’ve created a handy file, test.rb, which cycles through all the available pins, setting them to output mode and turning them on and off and giving you 2 seconds to quickly take note. You can adjust it to your preference, and use some looping to have it repeat if it helps. You can find test.rb here: https://github.com/Gadgetoid/Ruby-RPi-Binary-Clock/blob/master/test.rb and run it with: “sudo ruby test.rb” ( It also requires gpio.rb and, of course, the built and installed WiringPi module )
Once you’ve mapped your LEDs ( you’re going to need 14 for the binary clock, sorry, it’s painstaking, but it’ll pay off in the end ) you’ll need to open up Clock.rb and tweak the constants at the top to the right pins
Once the tweaking is done “sudo ruby clock.rb” and see if it works. If it doesn’t, don’t sweat. Check your ground wire, check your connections, and check your LEDs are in the right way ’round. Knowing my luck, though, my code will probably have gone wrong. You can give me a shout in the comments for help.
The 14-LED binary clock uses 5 LEDs for the hour ( 24 hours ), 3 for the week day and 6 for the minutes. They represent the values 16,8,4,2,1 4,2,1 32,16,8,4,2,1.
To read the clock, you would add together the values of the LEDs which are lit up. For hours it could be 16+4 for 20, IE: 8pm. For days it could be 2+1 for 3, IE: Wednesday, and for minutes it could be 32+8+4 for 44 minutes past the hour. After some practise you’ll see a more visual side to the binary clock, identifying certain patterns of LEDs with certain hours or days without having to do the maths. Because the largest LED under minutes represents 32 you’ll also notice more and more LEDs lighting up toward the end of an hour, so if you want to do something at 8pm you’ll find it hard to ignore the 5 LEDs that indicate 1 minute to!
My complete Raspberry Pi binary clock code is available on GitHub for your viewing pleasure, scrutiny, re-use and hackery. Enjoy! https://github.com/Gadgetoid/Ruby-RPi-Binary-Clock/
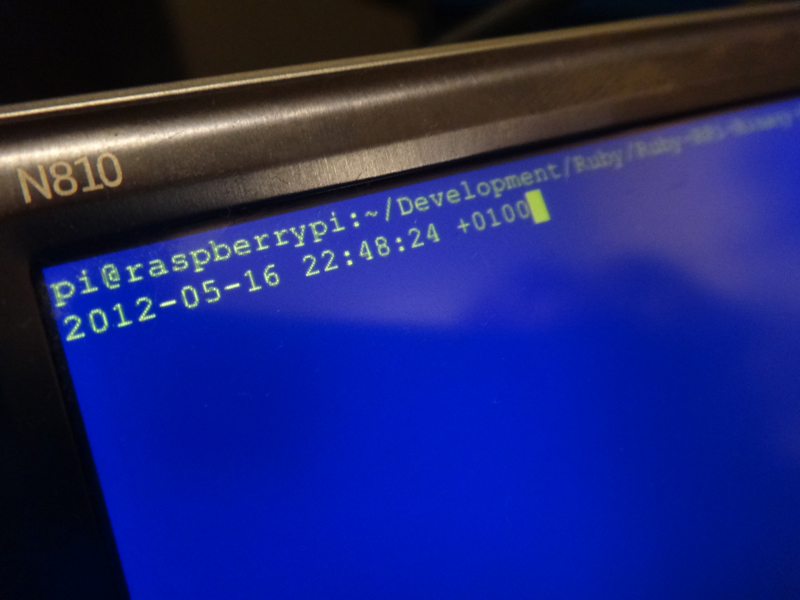
As a quick tangent, I enjoy the Pi as a hacking platform because I can store all of my source-code directly on it, check it into and out of github, compile on it and more. I can SSH in, SFTP in and manage, edit and hack on that code from whatever device I have handy. This is immensely useful and gives the Pi a great pick-up-and-play nature.
Furthermore, with a quick install and config of avahi-daemon my Raspberry Pi will pop up in the server list when I do a “New Remote Connection” in OSX terminal, and will also show up in the Bonjour menu of Transmit Disk. No more puzzling over what IP my Pi has at any given time or location.
I hope this gets more folks considering Ruby as a prime educational language on the Pi and gives you some general Pi food-for-thought. The Pi is still in its infancy, but is already a great platform for learning… things can only get better.

